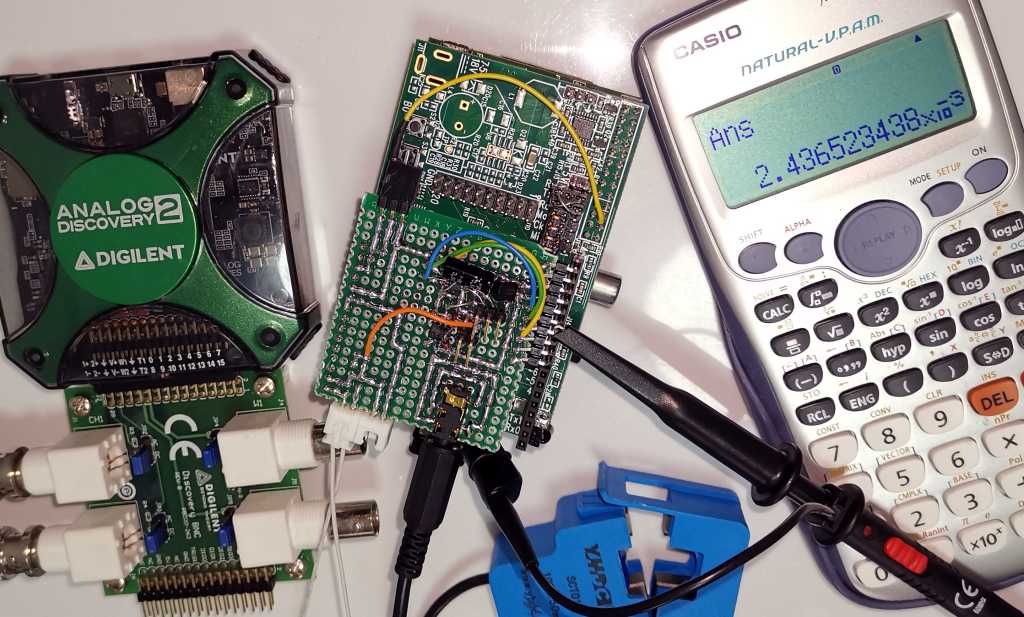
This is the first part of a multi-part series about some hardware & software that I hacked together to monitor the AC current of our outdoor inverter aircon unit, which is reporting an overcurrent error.
- Part 1 – The introduction – Why, what & how (you’re reading this)
- Part 2 – The hardware – current sensor, thermistor, ADC & Arduino
- Part 3 – The circuit design – Analog, digital and data flow
- Part 4 – The firmware – Arduino, RMS calculation & Raspberry Pi’s UART
- Part 5 – The software – data collection, analysis & decision
- Part 6 – The solution – still unknown at this stage
Note: I’ll add the links when those posts are published 🙂
The Why
TLDR; I want to learn about inverter fail-safe features.
I and my housemate have started working from home around mid-March 2020, right before the Circuit Breaker measure imposed by the Singapore government. With the hot season coming, we started turning on the aircon after lunch and we noticed that it wasn’t cold, and would switch off after some time with the power indicator blinking, which usually means something is wrong. After cycling the power it will be back on, and maybe cold again or it might take a few more power cycling. We never noticed this before COVID-19 when we only operated the aircon at night.
Thanks to my housemate who did a quick search and found out how to read the error code, E7 – Inverter instantaneous overcurrent (DC output). After calling Daikin, they suspected the compressor and for this older model, it will cost around S$700~800 (USD500~575) with a labor charge of at least S$500 (USD360). They recommend a new unit instead which costs around the same. After speaking to our agent and landlord, we decided that we don’t mind observing for now and continue using it as is.
After some observation, we noticed that if we turn it on earlier in the day before the sun shines on the outdoor unit, or when the day is gloomy, it works immediately, and on a hot day, it will work earlier then shut down afterward. So it has to do with the heat in the outdoor unit.
My understanding of the error is that the controller wasn’t able to start the compressor within the designed current limit. Daikin is known for its good fail-safe design. When the outdoor unit is trying to start, we could hear the fan start, and the compressor tries to start and stop after a few seconds. It will keep trying for a while before giving up and throw us the error code E7.
I had some experience with aircon servicing and know the internal quite well, but this fail-safe feature is new to me, especially around the inverter. So I thought why not I try to monitor the current and temperature to see what’s causing it to stop while learning more about this fail-safe feature.
Aside from that, I have used a non-intrusive current sensor coupled with OpenScopeMZ to help my previous landlord troubleshoot a frequent power trip, which didn’t work as expected. I end up using a Murata power monitor which is intrusive as it requires the mains wire to run through the permanent current loop. This is a good opportunity to learn and get the current sensor working. I’ve also wanted to understand the RMS calculation for continuous current measurement.
Lastly, this gives me a stronger nudge to restart my blog post. I’ve broken it down into smaller posts so it’s less daunting to start. Hopefully, it will keep the blogging wheel turning.
The What
What should I measure? Since it’s overcurrent, the obvious thing is to monitor the AC current. Although the error indicated overcurrent on the DC output, getting that requires tapping into the controller sitting outside, a big no-no since we live on the 14th floor and the outdoor unit is hanging outside the bedroom window with no easy access. AC current is the closest and safest I could get to. I also happened to have a spare clamp style AC current sensor in my parts bin, which allows non-intrusive current measurement.
The next parameter is the temperature, so I know at which level of heat that caused the overcurrent. I have a couple of spare thermistors from my 3D printer, so that’s taken care of.
The How
I’ll be making a custom Arduino shield on veroboard, put it on a Gertduino and Raspberry Pi. I think this is long enough as the introduction. I’ll dive deeper into the How in the next part. If this is interesting, stay tuned for Part 2, which comes next week.
![/(electr[^s]*)|(prog[^s]*)/](https://geekodercom.files.wordpress.com/2021/04/08deb-geekoder-1.gif?w=275)

One thought on “Aircon Monitor – Part 1 – The introduction”